Tasks
Introduction
Tasks are assignments generated during application execution. When an application reaches a stage requiring a predefined form to be completed, the form is sent as a user task and assigned to an individual or group. The Tasks page consists of three tabs, To Do, Done, and Share.
To do
To do tasks are active and require an action to be completed. If there are available tasks for you to complete, a task counter will appear in the sidebar, notifying you how much tasks are available.
You can search trough the tasks by using the search function, or filter your tasks by using the advanced filters located just beneath the search bar. In the advanced filters, the Search by availability field contains three types of task availability:
- My tasks - Tasks assigned directily to you will be shown.
- Group tasks - Tasks assigned to a group you are a part of will be shown.
- All tasks - Shows my tasks and group tasks together.
Claim a task
In order to complete a given task, the first action is always claiming. Claiming a task means that you take the responsibility for it. The task will no longer be visible to other eligible users.
Start a task
Starting a task basically means putting it in progress. Once the button is clicked, the form which was locked beforehand will now be unlocked, allowing you to complete the neccessary task.
Unclaim a task
Unclaiming a task will make the task available again to all qualified users. The task is going back to the pool where it can be claimed by another user.
Stop a task
If you find yourself unable to complete the task at a given moment, you have the option to stop it. By stopping the task, your progress will be saved, and the task will be paused until you choose to resume it.
Delegate a task
You can delegate the claimed task to another user. Once the task is delegated and resolved by the assigned user, it will be sent back to you for final completion.
Done
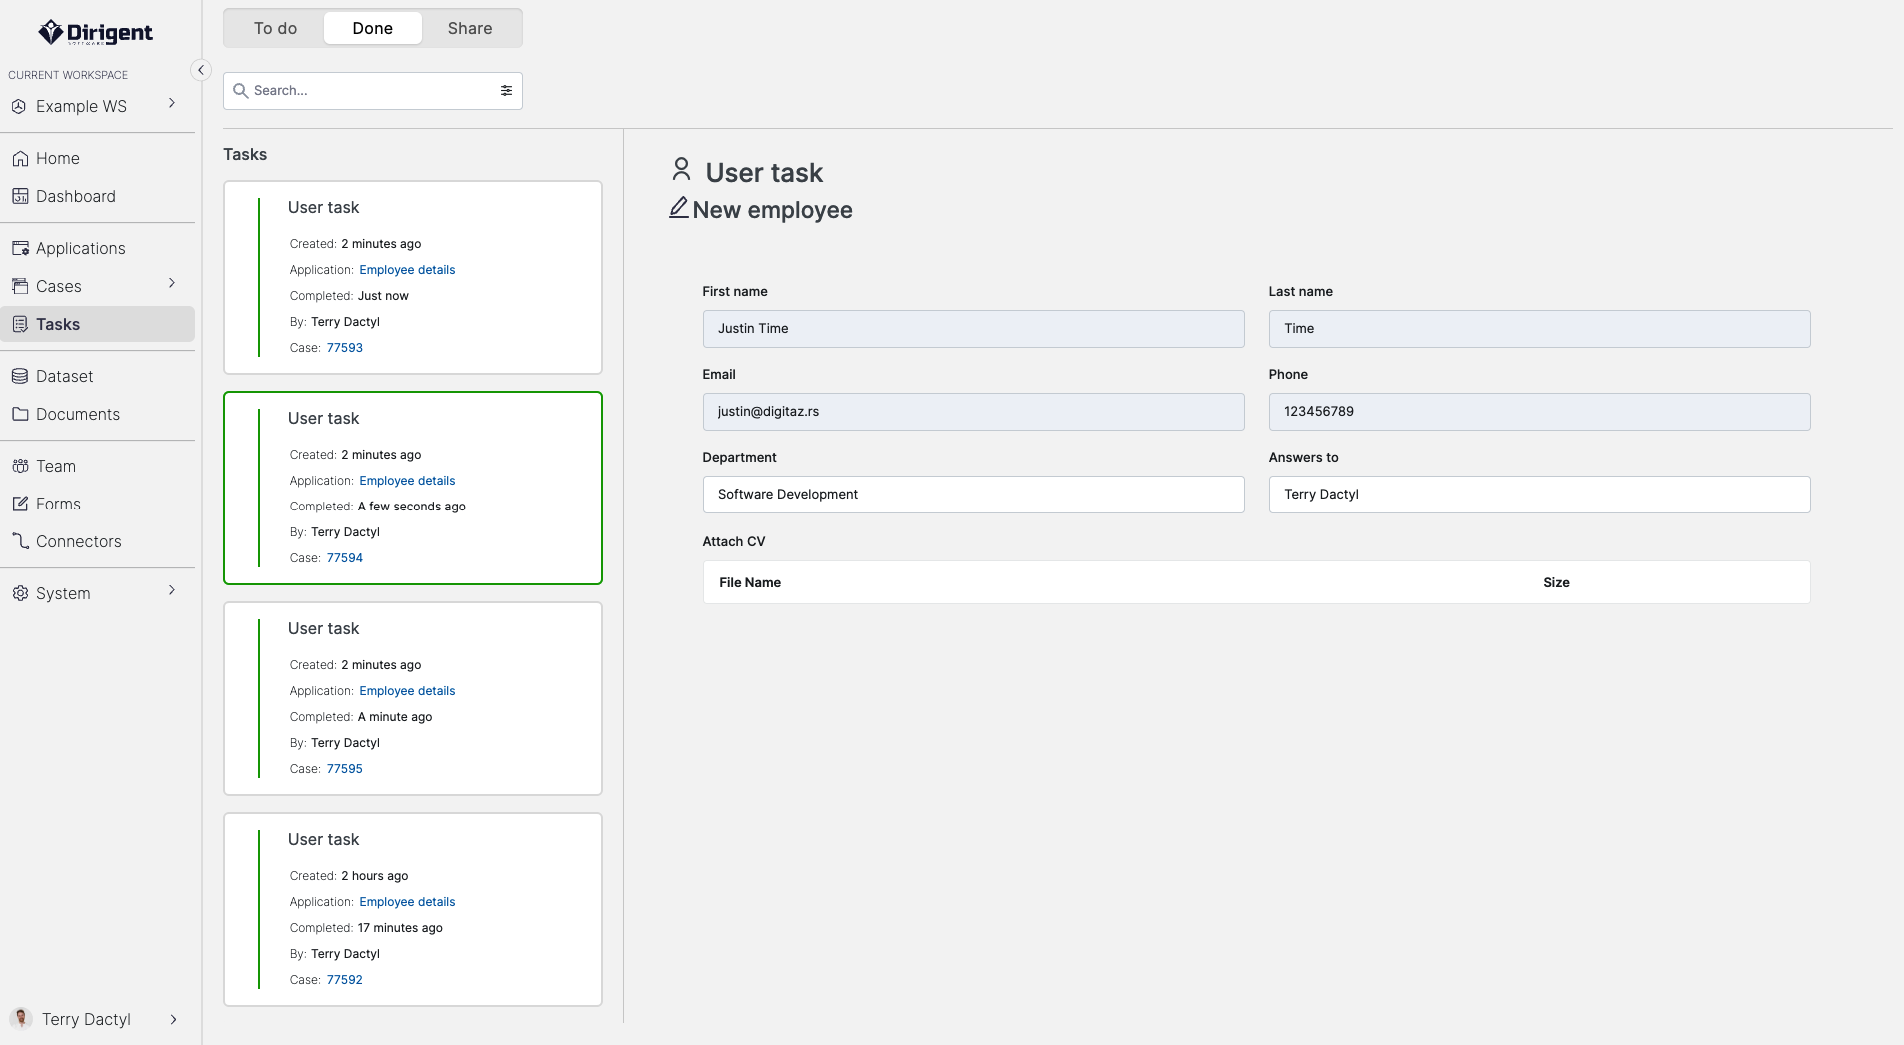
Tasks that were completed regardless of who completed (In this case completed means both terminated and completed) them will be displayed here.
Basic information about the tasks can be seen such as case ID, created, claimed, due and completed date. When you click on the task, you can see a preview of the form that has been completed together with the values that were placed in the form.
Share
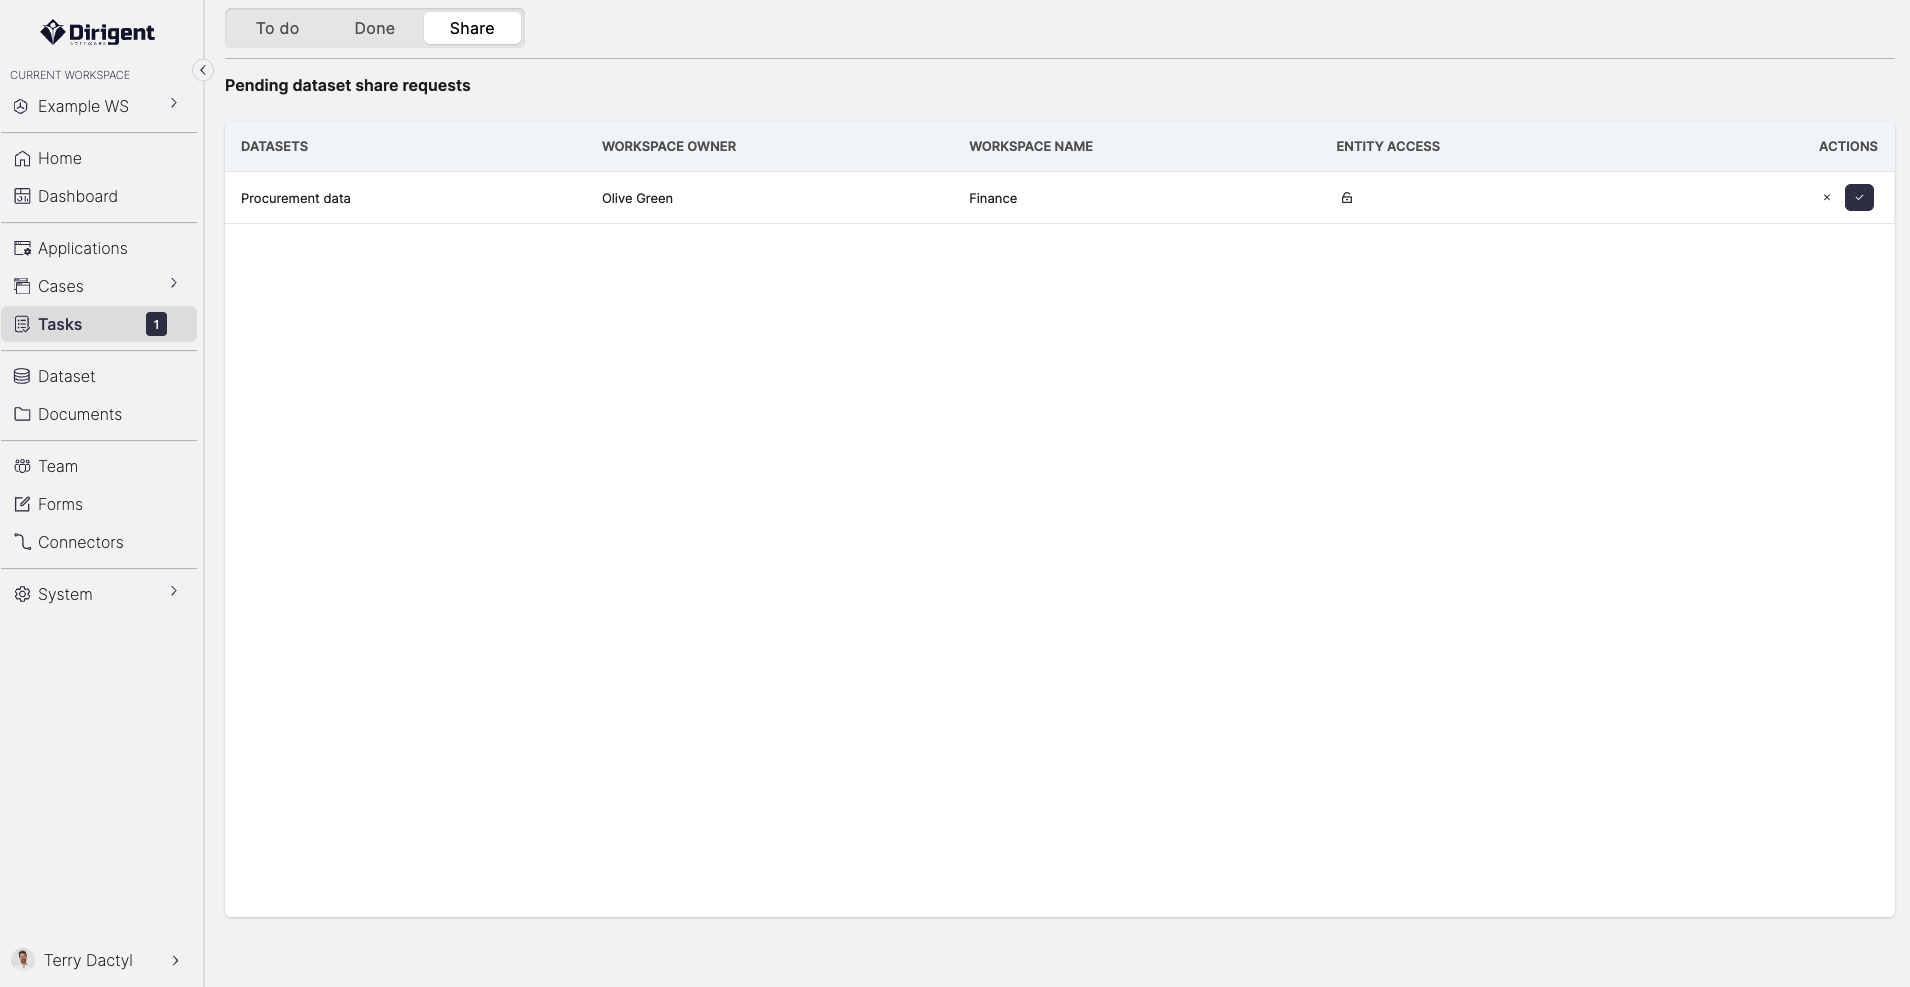
In Dirigent, datasets can be shared across multiple workspaces, allowing users to collaborate and access data with different permission levels. The share requests section serves as a central location for managing dataset sharing requests. Here's how it works:
-
Share Request Placement: When a user sends a share request to access a dataset from another workspace, the request will appear in the Share Requests section. This section acts as a repository for all incoming sharing requests.
-
Request Details: Each share request will include essential information such as the sender's identity, the target dataset, and the requested permission level. This information helps the dataset owner or administrator to evaluate and respond to the request appropriately.
-
Permission Levels: The share requests specify the level of permissions being requested by the sender. These permissions can range from read-only access to full editing capabilities, depending on the requirements.
-
Evaluation and Response: The dataset owner or administrator can review the share requests in the Share Requests section. Based on the evaluation, the owner can decide whether to accept or reject the share request. If the share request is approved, the sender is enabled to access and work with the dataset according to the defined permission level.


